
Organizing your print photos and memorabilia doesn’t have to be hard. Photo Organizing Julie Kessler of Picture This Organized shares 3 easy steps to get your organizing process started.
Step One: Gather everything into one work area
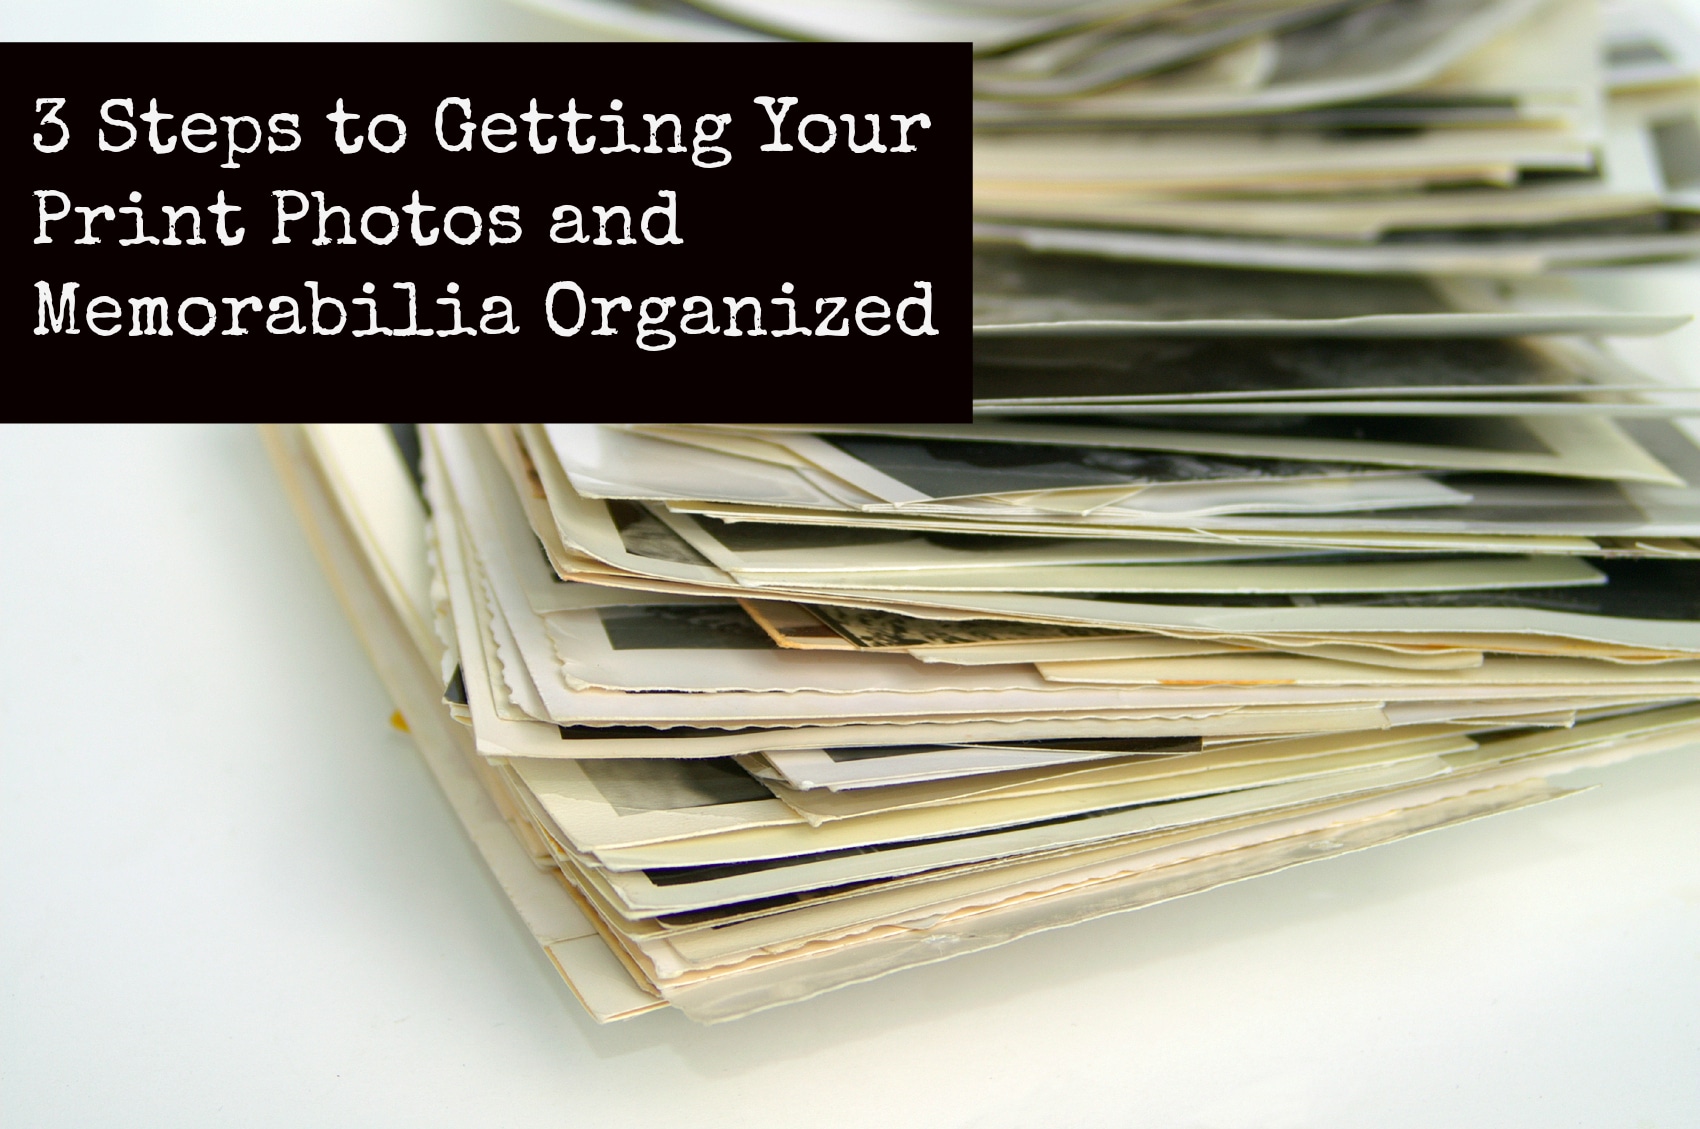
Don’t worry about what it’s stored in. Grab all your albums, loose print photos, envelopes, boxes and frames. Look for anything with a print photo or print memorabilia. You can check out more collectibles and memorabilia here. If you’re not sure where you have tucked them, do a room by room search. Get your kids involved. Take a deep breath and don’t freak out. You’re not alone. Remember this is just a starting point.
Step Two: Set up your work space.
Designate a room or area that can be used for this project. If you don’t need your dining room, the table is a great space for spreading out the print photos. Don‘t put them in your bedroom because they will be an unwelcome reminder when you’re trying to rest. Keep them free of little sticky fingers and areas where they could get spilled on. If you don’t have a work table, don’t despair. Just use some clean, empty boxes that you have around the house. Discount stores like Wal-Mart and Target sell shoe box size containers that work well. Then each day when you’re done you can pack up your photos and tuck them out of the way.
Collect some supplies. You will need some empty shoebox size containers, some 2 x 3 inch Post-it notes, 4 x 6 inch index cards and a pencil. Take a look at your collection and make a rough guess of the quantity. A photo stack an inch high is about 100 photos. This will be a useful gauge for the next step – sorting.
Step Three: Sorting.
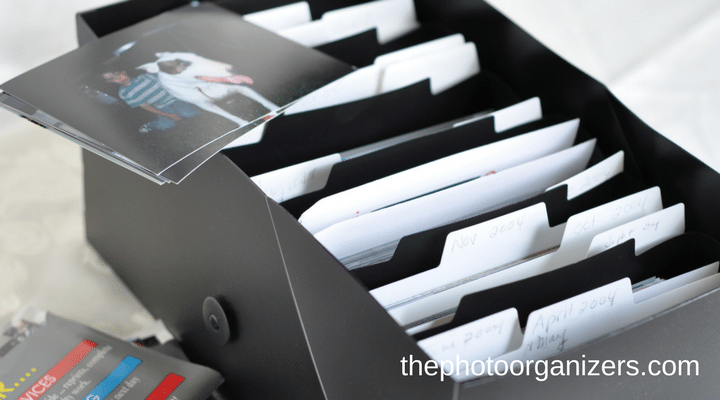
You can do it…open one box. This initial sort will be used for identifying the photos and grouping like items together. Don’t worry about duplicates just yet. Group the photos by eras and themes. Eras could be childhood, school years, college, adult, marriage, etc. Themes would be Our Family, Vacations, Sports, Hobbies, Holidays, etc. Use the Post-it notes and index cards to label each pile of photos. When you’re done for the day, move the photos into the boxes using the index cards as dividers for each pile.
Before you know it you’ll be enjoying and sharing those memories with family and friends.
If you need help organizing and preserving your lifetime of photos, videos and keepsakes, find a photo organizer near you at the Association of Personal Photo Organizers.
 Julie Kessler is a certified member of the Association of Personal Photo Organizers and the owner of Picture This Organized. As the 3rd daughter of an all-girl family, Julie has always been interested in life stories. While compiling her father’s life story for his 80th birthday, Julie realized the importance his legacy had for the generations of his family as she watched them pour over each page of the album. She uses a customized system with each client to help them identify the photos, memorabilia and home movies that tell the stories they want to share.
I have old documents (marriage licenses, birth certificates) and memorabilia (report cards, dog tags, etc.). What is the best way to organize these. Should I incorporate them in the picture albums which I am doing to relate to our family history and genealogy.
You are on the right track. Yes, incorporate the memorabilia and documents into your albums. It’s fun to have both photos and memorabilia in an album. This can be included in their original form or scanned and incorporated digitally.